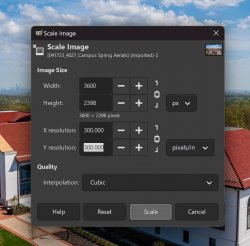
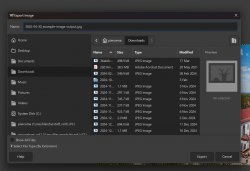
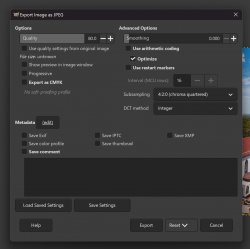
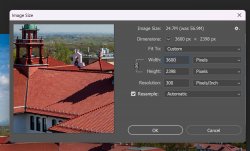
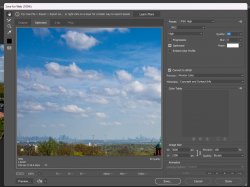
When you select a photo for use on your website, you must make sure you save that image in a file format that’s appropriate for use on the web. Even images sourced from the University’s official photo repository need to be resized – those images are very large for use in printed publications.
You should never use photos directly from your phone or camera as those files include personal information in the file’s metadata. Saving the image for the web removes this personal information, protecting your privacy.
JPEG Images
By far the most common image format used on our website is JPEG. The JPEG compression format is specifically designed for photographs and it does a very good job of handling the sort of real-world details that a camera captures.
We do not recommend using either Adobe Express or Adobe Photoshop Express for work on the website. These tools do not offer the necessary image resizing and compression settings and, as a result, are not capable of ensuring correct output.
PNG Images
While PNG images can be useful for creating images with translucency, our website design does not have any instances where one image might overlap another. PNG images also tend to be much much larger than JPEG images when displaying photographic images. It would be best only to use PNG images when uploading computer-generated artwork or screenshots.
Due to the way the website handles responsive images, be advised that the PNG images will be converted to JPEG when we send them out to visitors. We only recommend using PNG for screenshots of text since that will give the image resizer the cleanest possible source to start with.
GIF Images
GIF images provide two benefits: animation and transparency – but they have two huge drawbacks: large file sizes and a maximum of 256 colors in the file.
The site supports the use of GIF images for animation but we recommend using this feature sparingly since the page will quickly become too large for use on mobile devices if it’s too overloaded with GIF images.

SVG Images
SVG images are made up of vectored objects (lines, polygons, rectangles, circles) and can be scaled to any resolution. They’re ideal for displaying vector art in high resolution while also delivering on tiny file sizes but they can be extremely difficult to produce.
The website supports SVG images in exactly the same way that it supports other images. You can upload SVG files to your media library and place them on your pages in the caption shortcode to have them resize automatically.

